Who else remembers 8th grade? Not only was it defined by UGG boots, jean miniskirts, and tight logo t-shirts but it boasted some of the WORST beauty trends since… Well, ever. I remember wanting to make my lips disappear and line my eyes with black coal until I was mistaken for a rabid racoon (mouth foaming, not included).
Thankfully, our culture has shifted faaar away from these horrendous trends and embraced a more natural, softer look.
Honestly, I go deep into the Instagram wormhole of beauty tutorials and let me tell you, I do not have the patience, time, or talent to be ‘un artiste’ at 6 AM. But what I do have is about 15 minutes in the morning devoted to my makeup routine and tried and some true products that have stood the test of time (and the test of long hours/weather/sweat).
1. Start with the right base
During my pageant days, makeup artists #1 rule for a session was to come in with a clean face (they would always underline clean). I use the DHC cleansing oil which sounds terrible but this stuff truly works. It’s a miracle in a bottle! It takes off every stitch off makeup without drying your skin out. After I wash my face (sometimes I wash it twice), I use either the Drunk Elephant Protini moisturizer or Embryolisse (no, it is not made from embryos). I usually allow a couple minutes to let it settle into my face and neck.
2. Prime Time
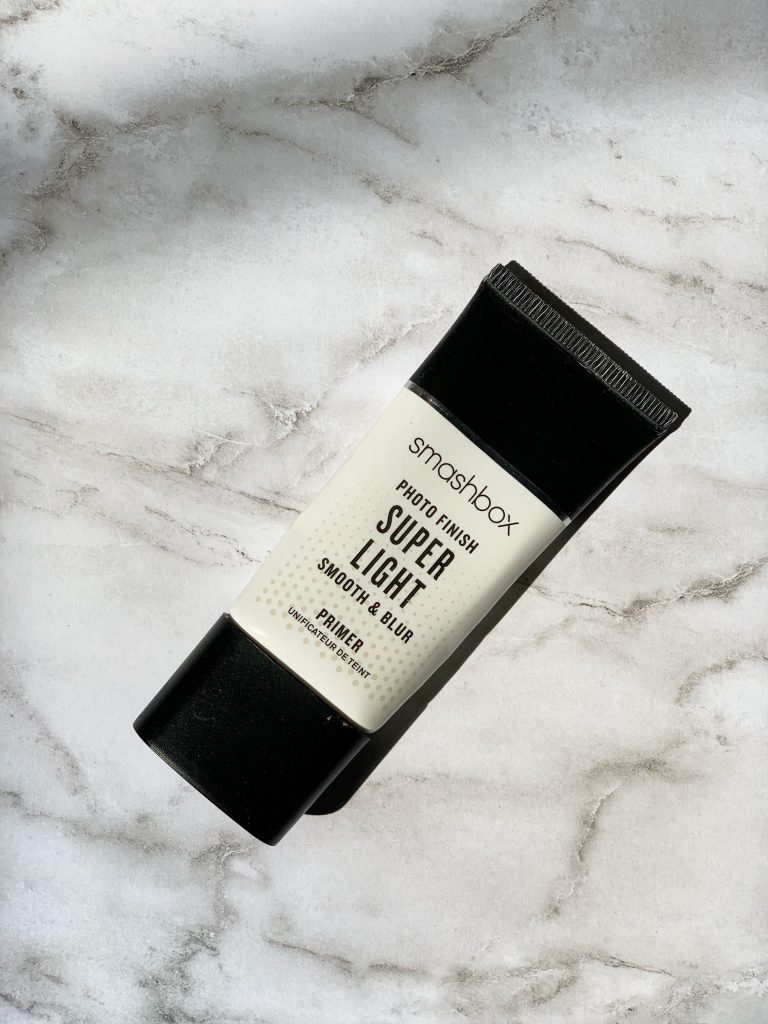
I used to think primer was just a marketing ploy by makeup companies but there’s a huge difference between when you use it and when you don’t. During hot or humid weather, primer is not really a question, it’s a fact. Use it. Love it. Trust me. Wicked Witch of the West melty is not a good look.
I use this Smashbox primer most days but I also love this one and this one.
3. A good house is built on a good foundation
I do things a little backwards. I start with concealer and then add foundation on top. I do this for two reasons:
- I like to cover my circles first so I can see if I actually need to use foundation for the rest of my face
- I like to layer on days when I absolutely need a little more coverage
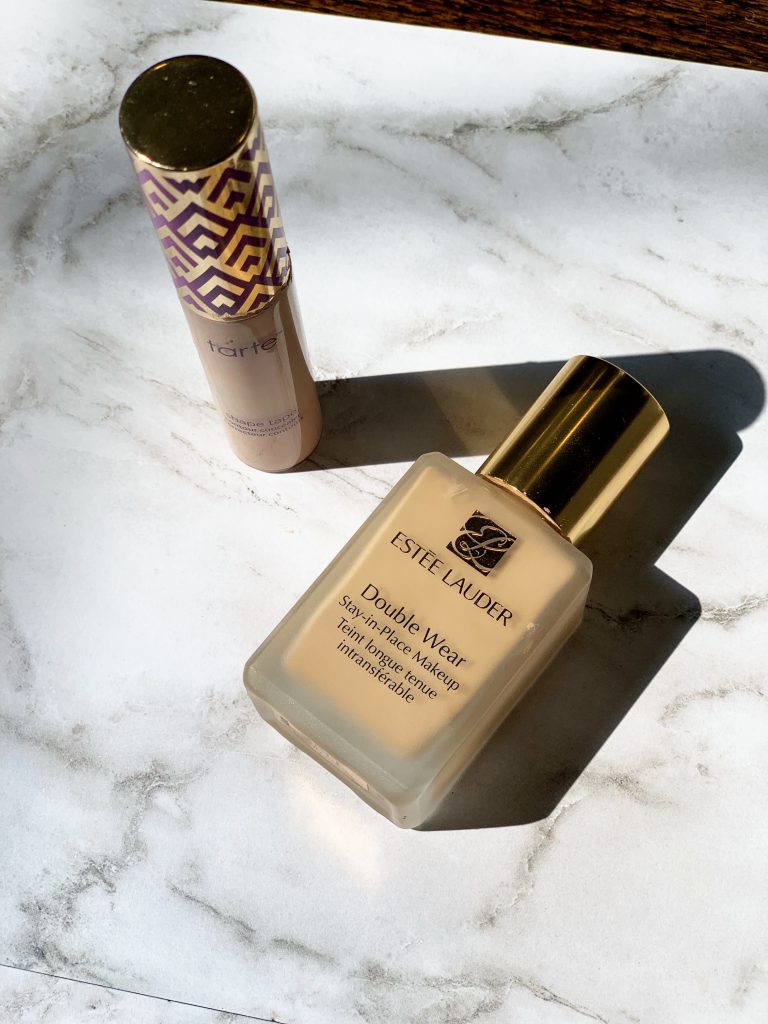
The best (and I mean BEST) concealer is the Tarte Shape Tape. I literally can’t even explain to you how wonderful this stuff is so I’ll stop there but just take my word for it that it’s the best product on the market and I love it so much, I would try to sell it to Mary Kay herself.
I’ve used alllll the foundations but I’ve found that my favorite is the Estee Lauder Double-Wear formula. It literally lasts all day and I never worry about it moving. There are also drug store foundations that will absolutely get the job done if you’re budget conscious. The Maybelline FitMe foundation is the best you’ll find on the shelves and comes in enough colors to allow you to match closely to your skin tone.
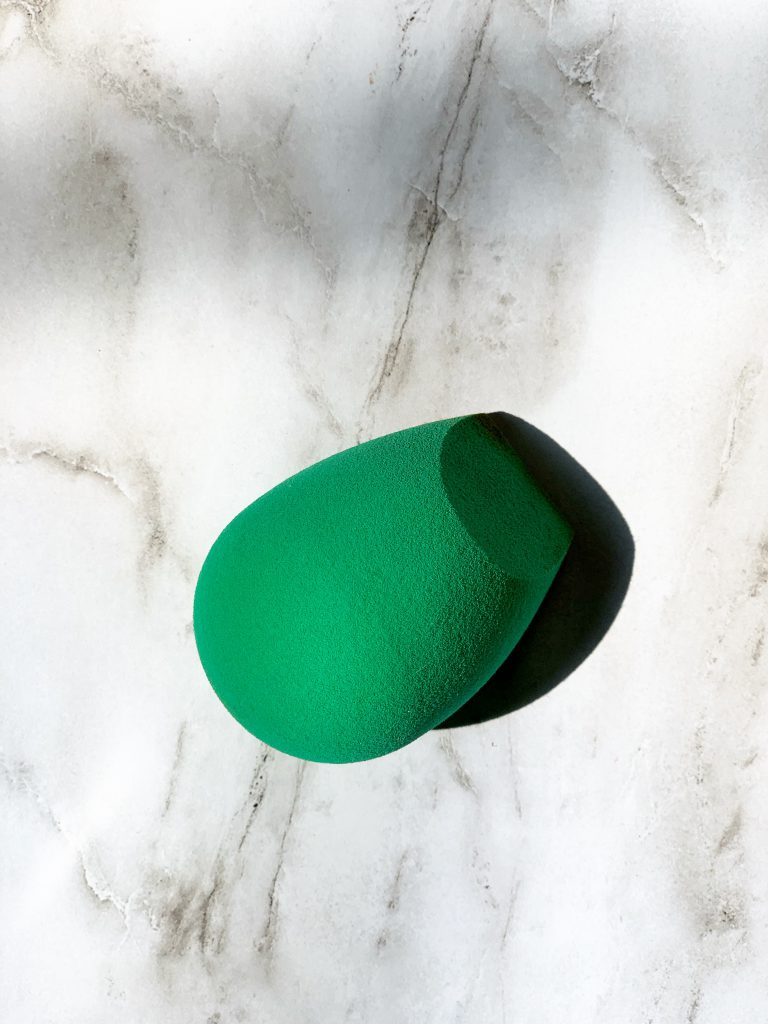
I apply both my concealer and foundation with a wet blender sponge. I know there’s a question of which sponge to use but on this, I’ll actually go cheaper. You can grab a sponge at CVS and truth be told, it’ll probably do the same job as a beauty blender. I use this one from Eco Tools. I love the angles and how big it is. But you can also use a brush if your heart desires. I’ve found that a wet sponge applies more evenly and gives a bit of a dewy (but not wet) look.
4. Adding Dimension
Some women have been surprised to learn i use contour every day but I use it because I don’t want to look like the north side of an egg. Our faces our dimensional and we should highlight that!
Contour can be intimidating though… too much and you’ll look like you smeared dirt across your face. I suggest if you’re new to contour to watch a video or two and start with a powder or bronzer. This is one I refer back to when I feel like I’ve gotten sloppy…
If you are, however, feeling up to the full shebang, I use the Anastasia contour set in light/medium. I realize this is not a cheap item but take comfort in the fact that I’ve had mine over a year (probably shouldn’t admit that) but I’ve still got miles to go with this. It provides the perfect amount of build-able product.
I usually just scoop it up with my brush and go along the contour lines blending (*shouts BLENDING) into those lines. Start with a small amount and add on. Remember the same rules to cooking apply to makeup: you can always add more but you can’t take away.
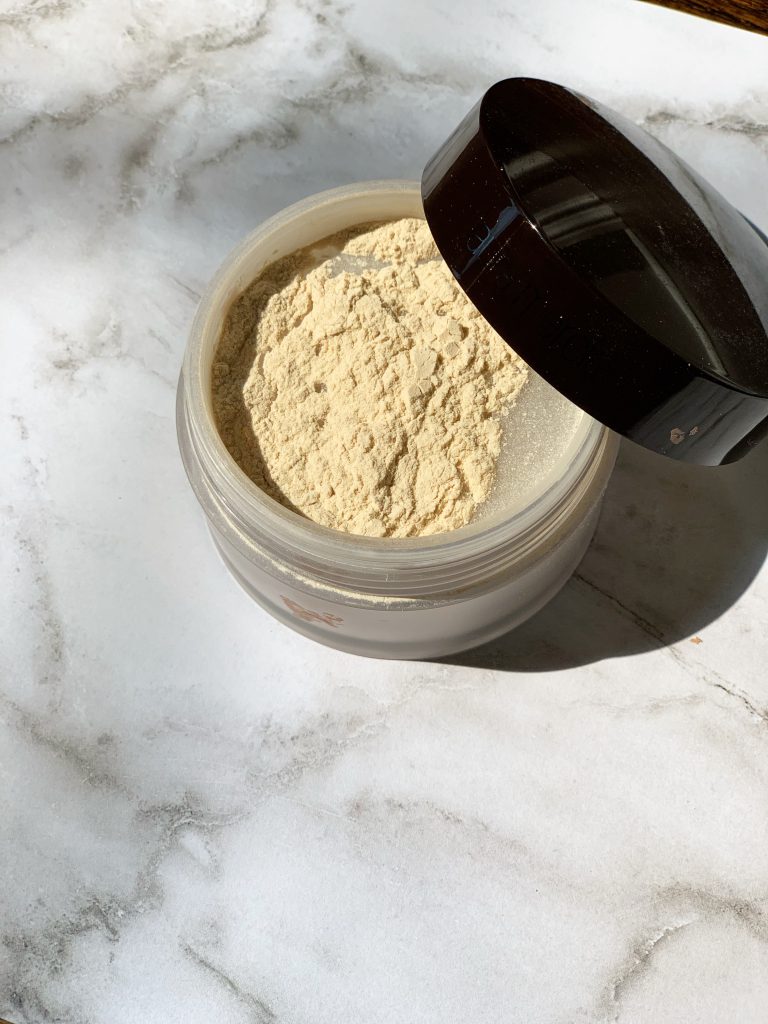
After I add contour, I use a setting powder to add a layer of staying power. I use the Laura Mercier translucent setting powder. This stuff is not cheap but there are other drug store options that work well. I use a large fluffy brush and pick a little, tap it off and apply lightly all over my face.
*Pageant trick: For pageants, we would have to use a lot of makeup to make sure the judges could see us from far away and we constantly battled hiding those dark under eye circles and highlighting. My makeup artist taught me about baking: taking loose powder and pressing it into the areas you want to be lighter. It sounds super weird but it’s magic. Make sure to take a fluffy brush and blend it in when you’re done with your whole face.
5. The eyes are the window to the soul
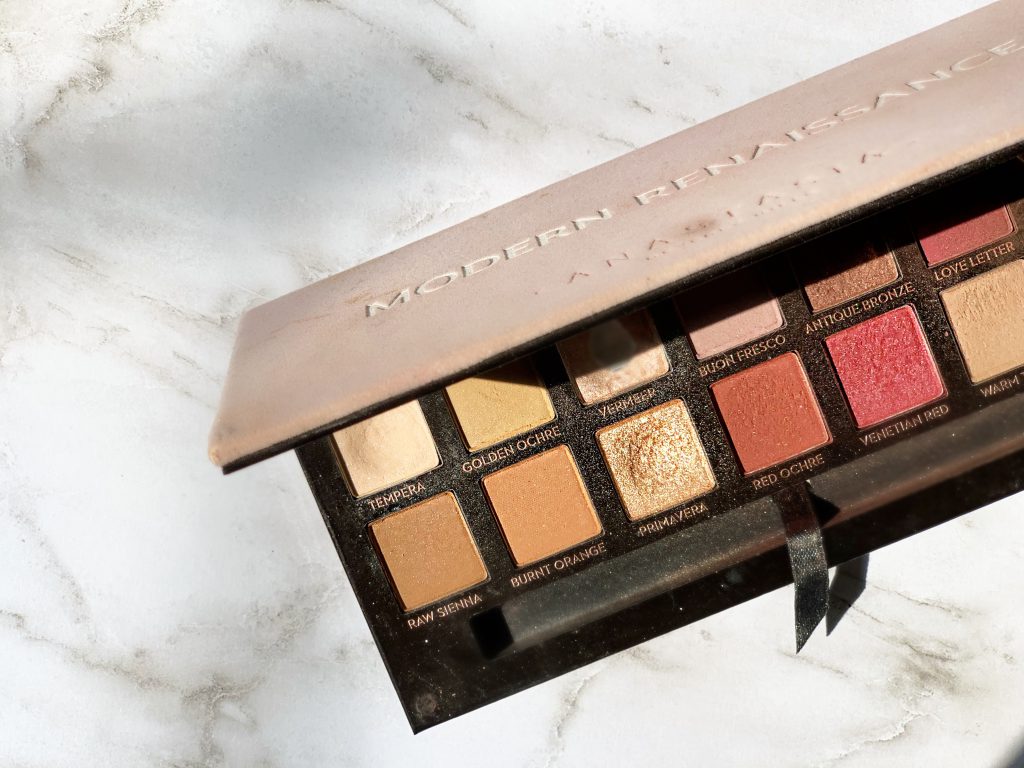
I loooove eyes. With the rest of the face, you kind of do the same thing over and over again but with eyes, you can be creative and step out of your box a little. For my every day 9-5 routine though, I stick to my mauves, browns, and taupes. I have hazel eyes so I use a golden taupe on my lid and under my brow to add a little highlight. Then I take an angled fluffy brush and swipe an espresso color across the crease. Again I say, BLEND. When someone looks at your makeup, they shouldn’t see a line but rather a soft edge.
I use this Anastasia palette because it’s a good mix of shimmers and mattes. I found that these colors are highly pigmented so proceed with caution and buff them out!
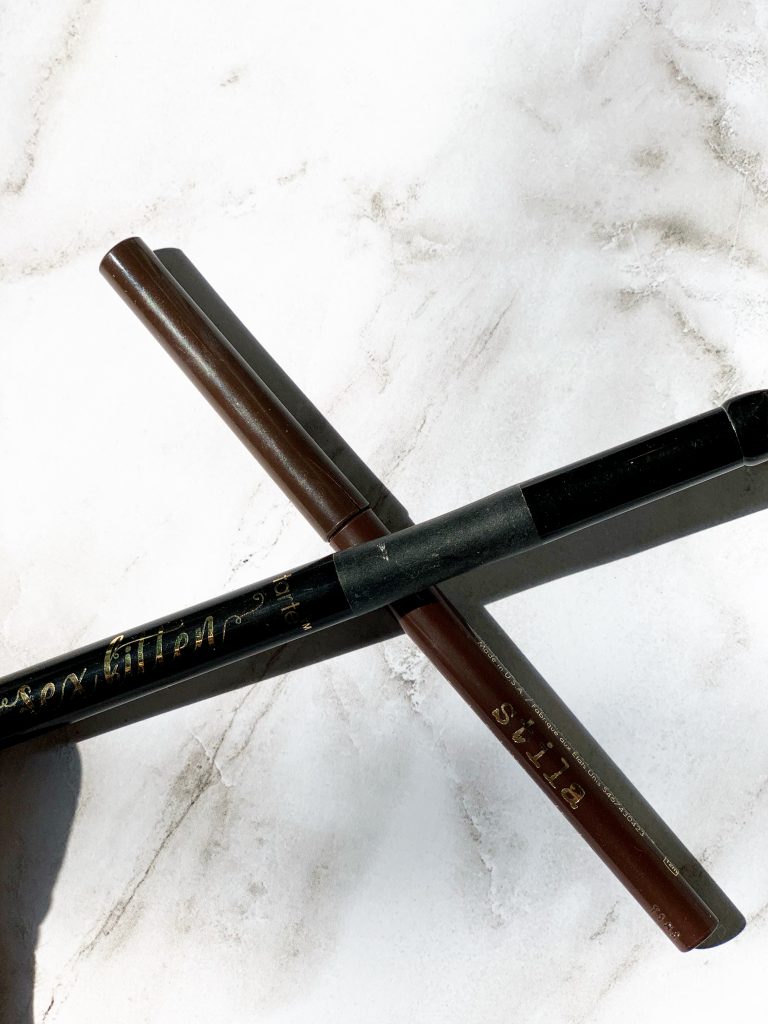
For work, I use a dark brown eyeliner and soften it by taking a very small pointed brush and buffing it out. I love this Stella eyeliner in Spice. But for more dramatic, evening events, I use the pointed tip liquid liner from Tarte. Its’ super precision is perfect for the artistically challenged like myself.
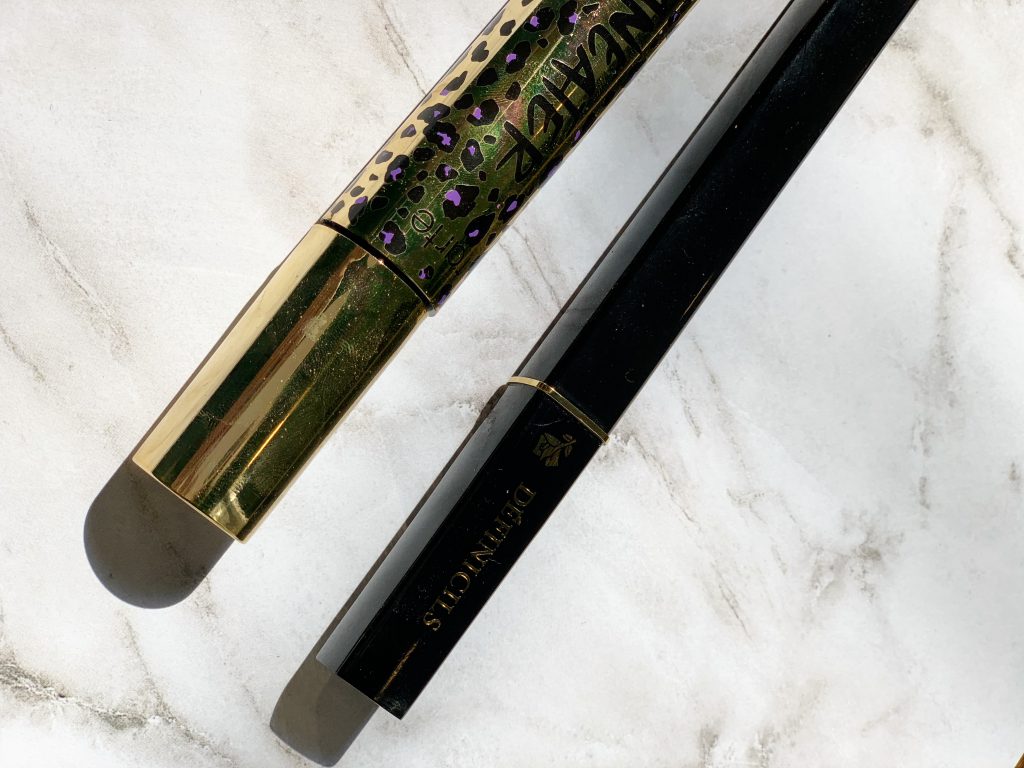
When I want a natural lash, I use the Lancome Definicils but if I want some high intensity volume, I use Tarte Maneater. (You can see I have a thing for Tarte products…) I don’t curl my lashes every day but another backstage trick is to slightly heat the eyelash curler with a blow dryer. Don’t to it too long or it’ll be too hot to put on your eye. Trust me. I’ve done it.
To finish out the eyes, you must tame the brows! I love the full brow trend we’ve seen and I hope will continue to see. As the kid who had a unibrow until she was 13, I have personally been rocking this trend since before Cara Delevingne made them a thing. So there, take that!
I use the Anastasia brow wiz. Again, it’s for the artistically challenged because it’s basically idiot proof. My main recommendation when it comes to brows it to create tiny strokes that resemble the actual hairs. There’s nothing I hate seeing more than someone who colors outside the lines. I don’t even need to show you a picture, you’ve seen it too.
6. Dat glow though…
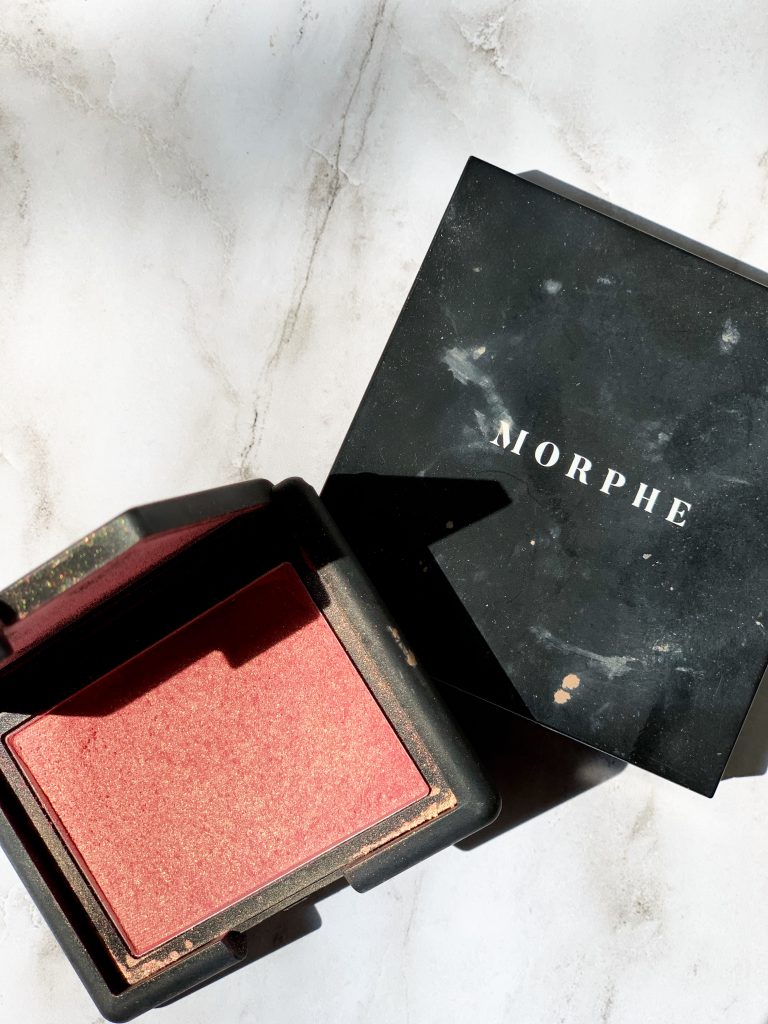
So we’ve already contoured but there’s still work to be done in the glow department. I start with a nice, pink blush. I’ve been using this NARS blush for years and its’s so widely loved by well, everyone, they dedicated an entire line to it. It’s got a little shimmer but not so much that it’s 80s disco ball blinding.
Word of caution with blush: don’t start on the sides. Smile just enough to outline where the apples of your cheeks are, place the blush there and then sweep out. Again, only use a little product and add on if you need more color.
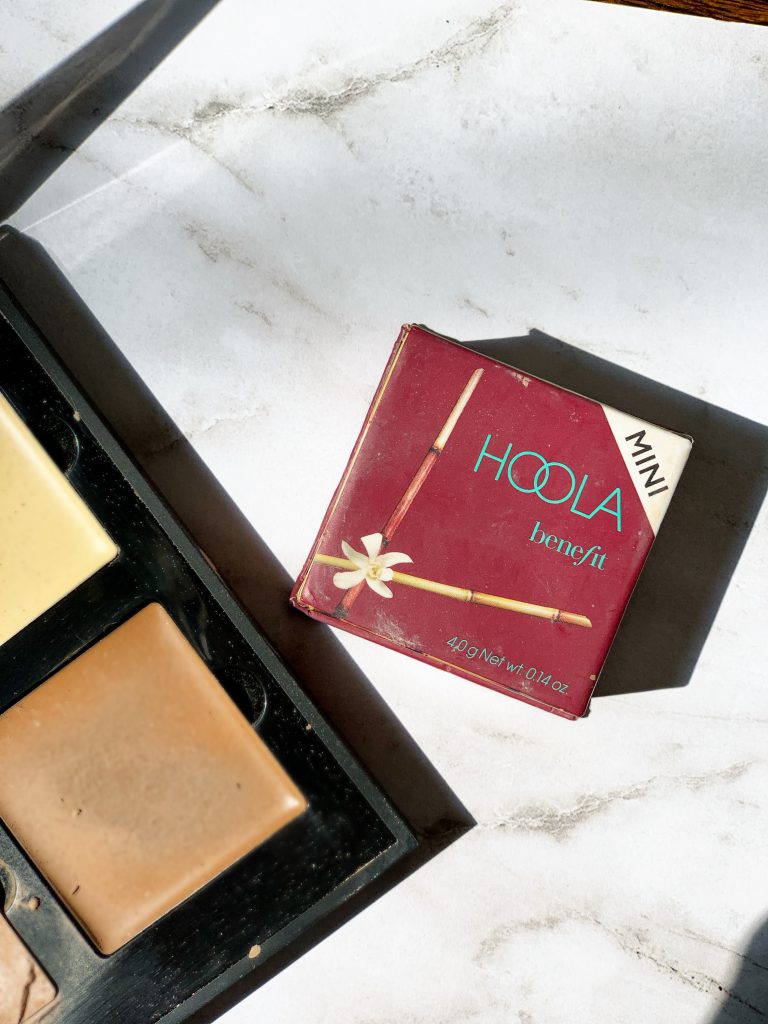
After blush, I add a bronzer on top of my contour/powder. The one bronzer that actually gives me enough product without me having to add 10 layers is the Benefit Hoola bronzer. This stuff is amazingly pigmented and even the smallest travel size will last you months! I take this and go along the same areas I’ve contoured while adding a little under my chin to define my jawline.
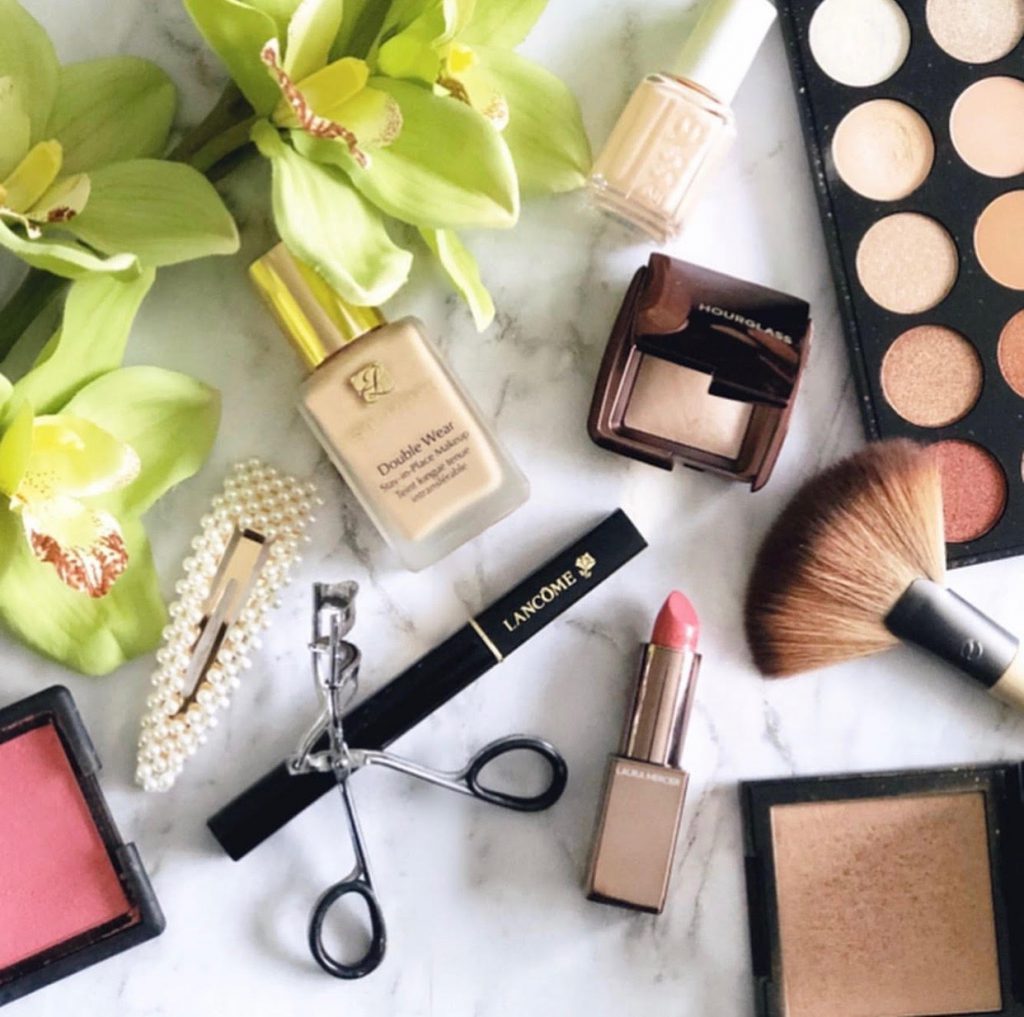
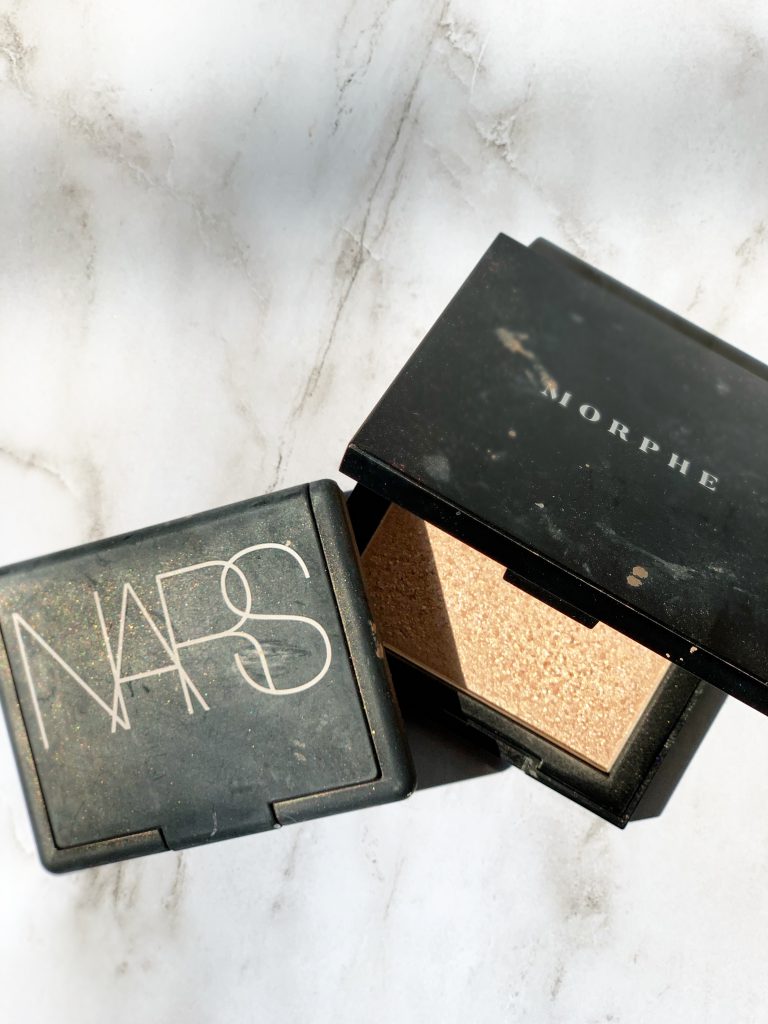
Last, I take a large fan brush (in the top picture) and sweep a shimmer highlighter across the tops of my cheeks, down the bridge of my nose, and slightly on top of my eyebrows. This gives those areas a pop and allows the light to reflect in a “Is she glowing????” way.
8. Pucker Up
I use a different lipstick/color every day depending on my outfit but there are a few I use for everyday work situations. NARS Powermatte lip pigment is To. Die. For. It truly is the best long wear lipstick on the market and I want to marry it. I usually use the American Woman shade because it’s like my natural color only on steroids.
You can also use a tinted lip moisturizer if you’re more timid when it comes to intense colors. I recommend this and this.
9. The Finishing Touch (spray)
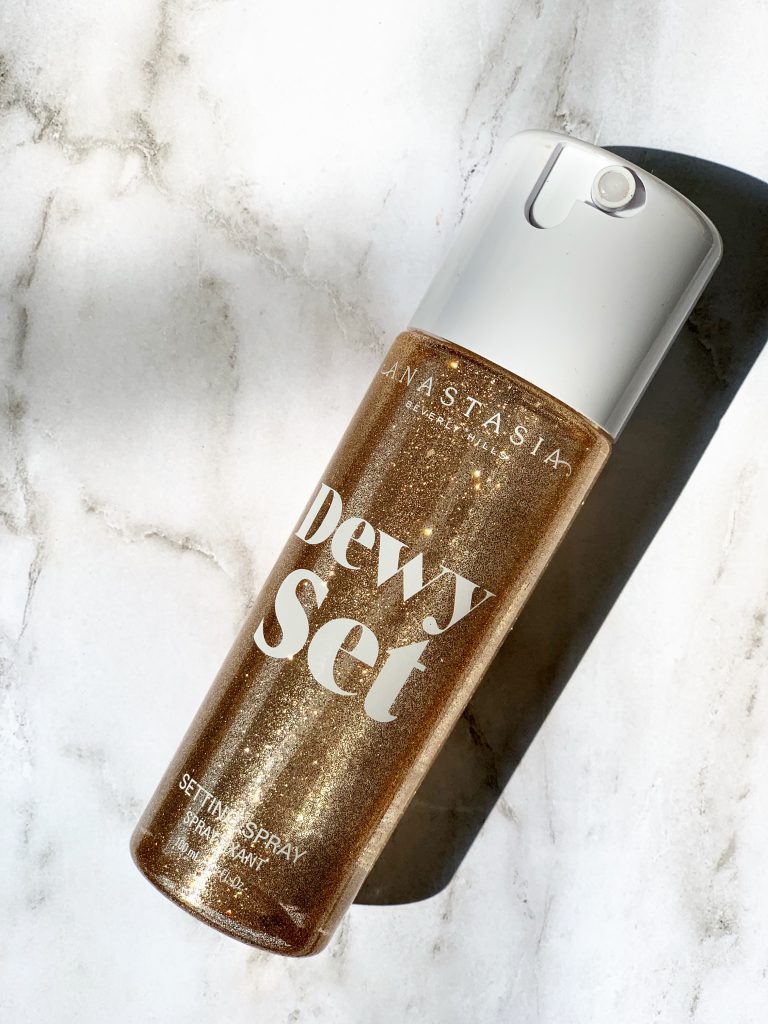
Just like with primer, I though finishing spray was for the birds but once I started using it, I was addicted. For years I used the Urban Decay All-nighter which does exactly what it sounds like. It lasts forever. I recently discovered the Anastasia Glow setting spray which glues your makeup down but also adds another level of ‘dat glow’. Not only that but it smells good, too!
Spray two or three times and you’re good to go for another hundred thousand miles. 🙂
I’ll update this list as I find new products but for now this is my every day routine that really only takes about 12-15 minutes. Let em know if you have any questions below or email me with your favorites go-to makeup tips and tricks!

