You’ve heard the phrase “The higher the hair, the closer to God.” Well y’all, we’re about to get real religious.
If you haven’t heard that phrase then bless your heart.
I learned many a trick from my days in pageant land on how to style my hair for different events but I get the most questions on my work curls (which could truly go anywhere.)
So let’s walk through what’s involved in my everyday ‘do…
The Goods
1. Start with a solid foundation
It’s important to start with clean hair to make sure you can wear your style for multiple days in a row. I don’t know about you but I don’t have the energy (or upper body strength) to wash, dry, and style my hair everyday. God bless the girls who ‘do the do’ every day… I am not one of them.
One trick I use to start building volume is by drying my hair upside down with a wet brush. I usually wash my hair at night and either let it air dry or use my hair dryer.
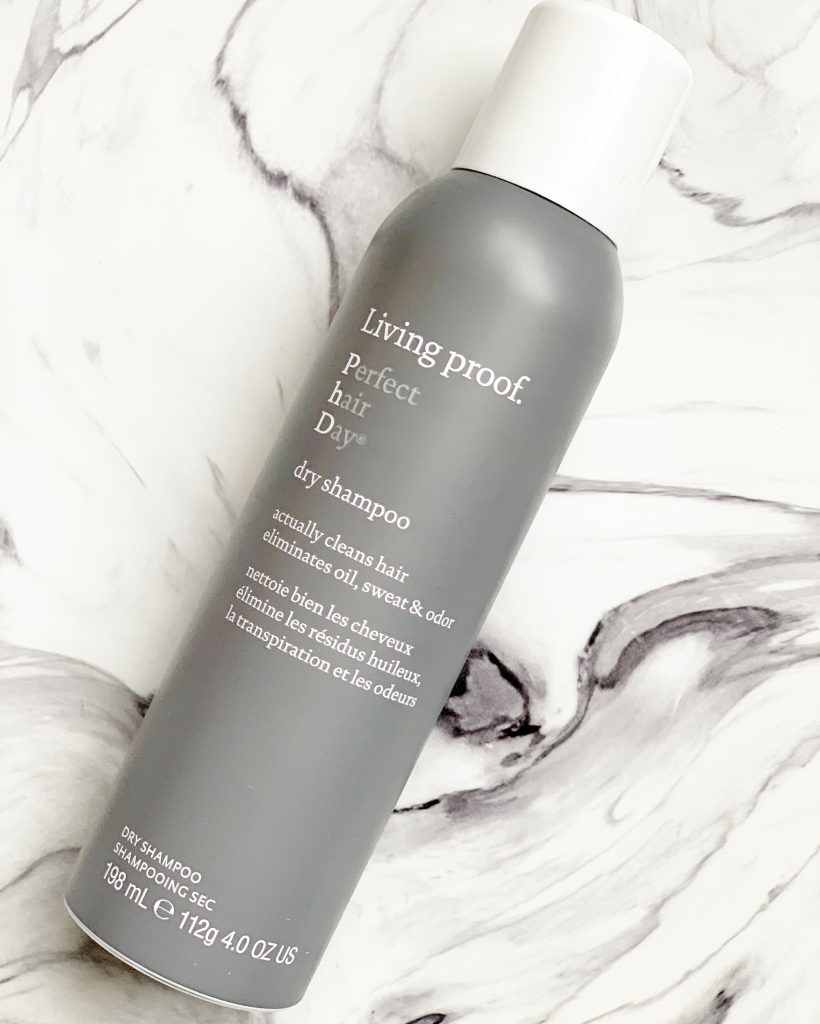
I’ll usually add some texture for better hold; you can use a texturizing spray or dry shampoo. (Hands up for the dry shampoo)
2. Turn up the temperature
The secret to long lasting curls is about how the hair cools, not the heat. YES, you still need a high enough heat to bend the hair but the cooling is what sets the style. I use hot rollers most mornings for several reasons…
- They are idiot proof (it’s hard to mess it up even when you’re half asleep at six in the morning)
- They don’t singe your hair
- They’re faster than curling each individual section of hair
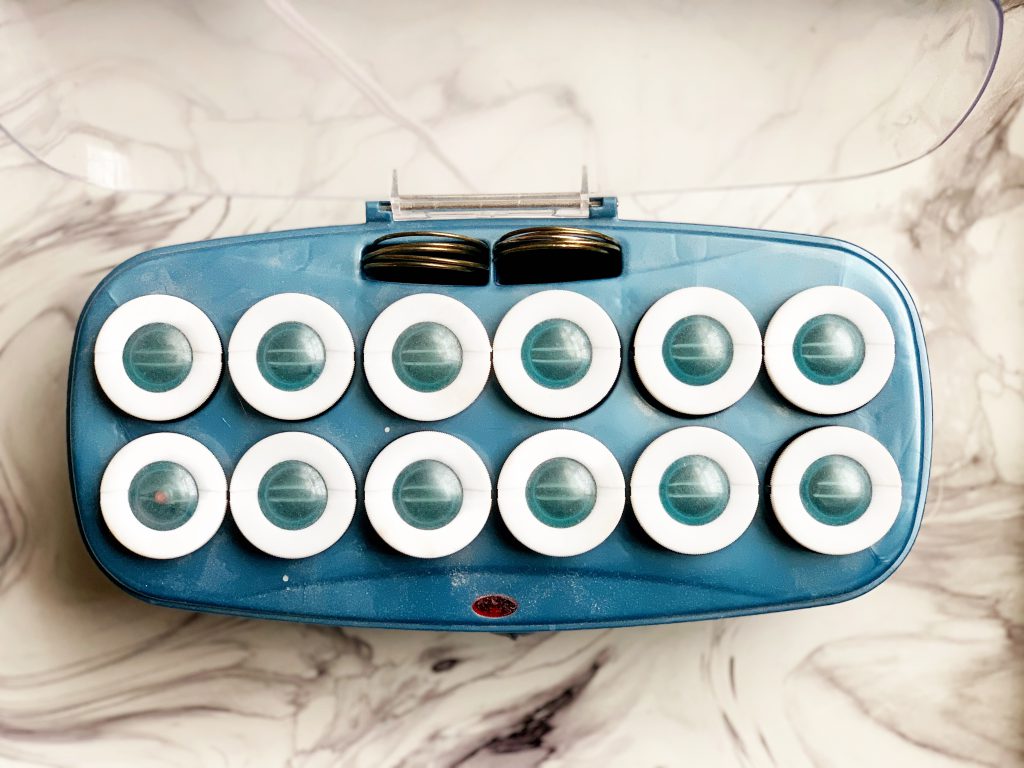
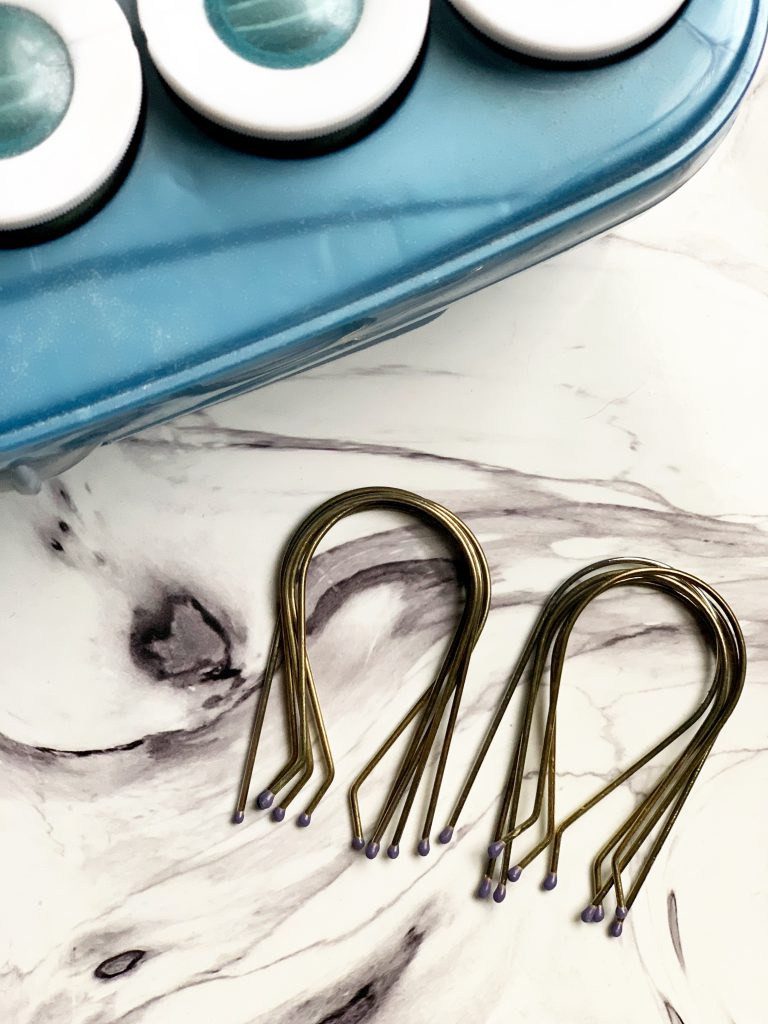
**word to the wise! Do NOT use the clips that look like butterflies. You will end up with circa 2005 crimps and not even the Lizzie McGuire cute crimp. Use the metal “U” shaped holders pictured below.
3. sPray to Jesus
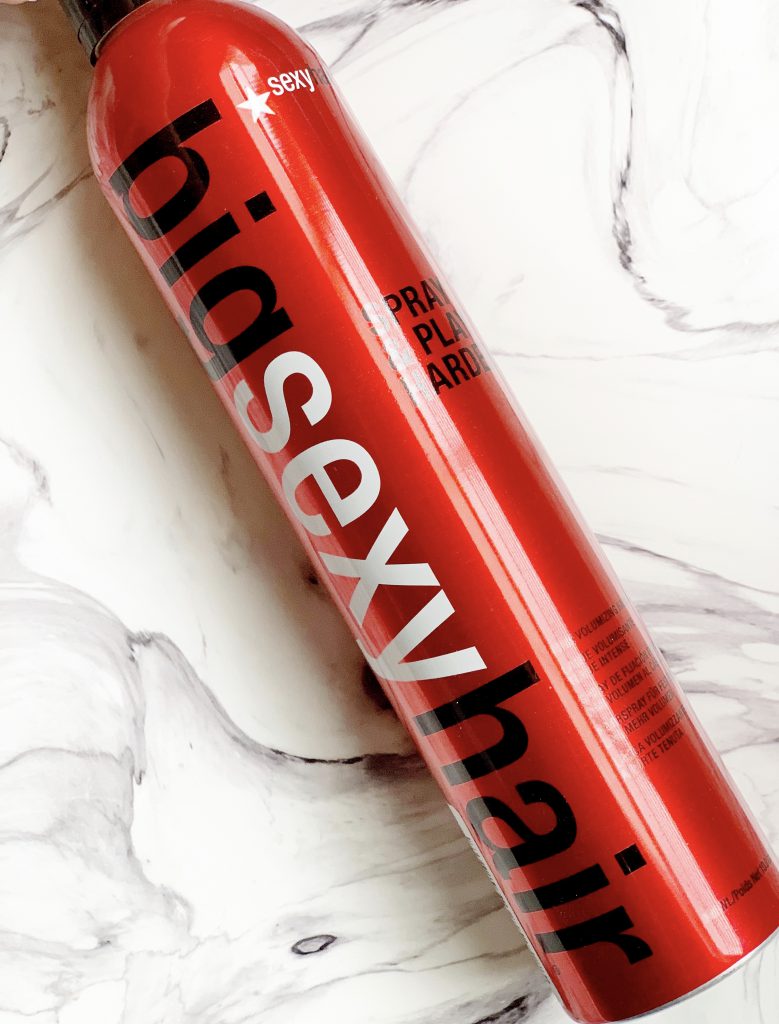
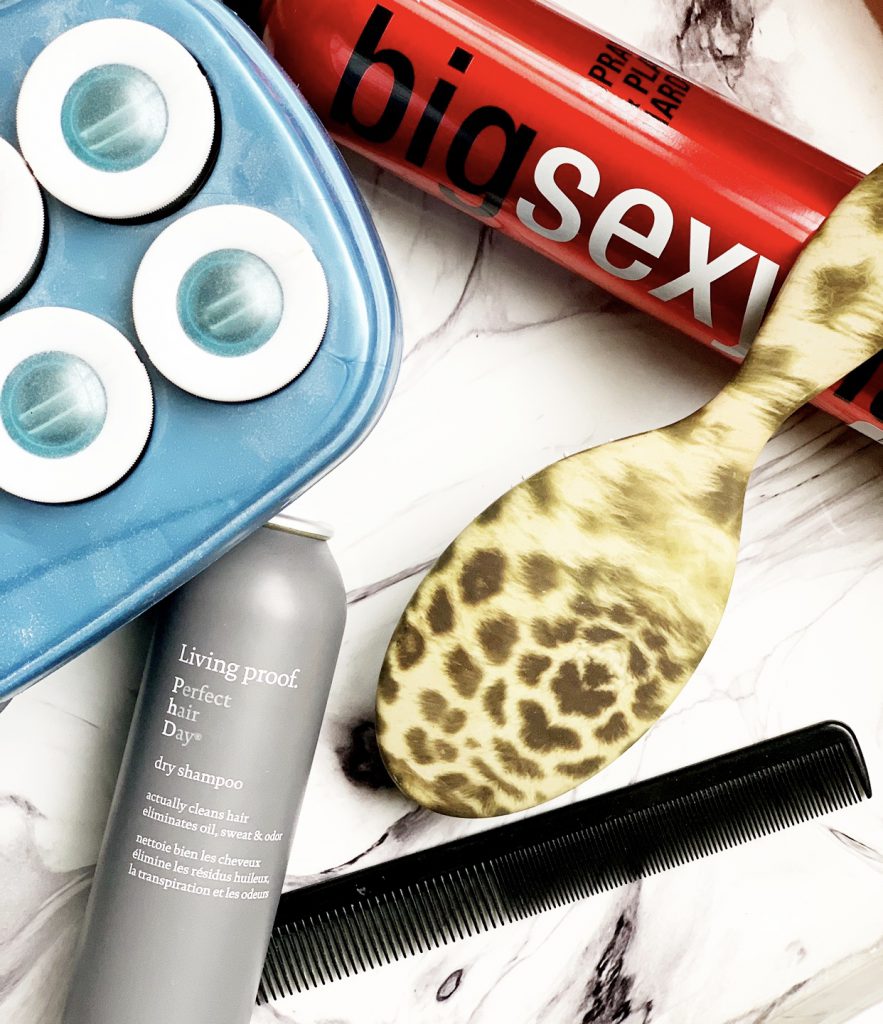
If you don’t use hairspray, then move along because we use it by the cart down here. Having been in pageants since I was 13, I’ve tried almost every hairspray on the market. Without a doubt the best on the market is the Big Sexy Hair Spray and Play Harder. I use it when I’m curling and as a setting spray. I recommend buying off Amazon or a more budget conscious establishment because that way you can get a better price and avoid the judgement from the ladies at the Ulta checkout (Yes, Becky. I am sure I want 10 of them… )
4. One Direction
Listening to One Direction while curling is not mandatory but curling each piece of hair uniformly is. I take each section, place the warm curler on the back side of the hair and roll away from my face. This allows more body and volume than if you curl under towards your face. What works best for me is pulling the section of hair tightly as not to have a rogue curler running around. (ma’am, please stay in your assigned seat)
5. Chill Out
‘Member what I said about how the cooling is what sets the hair. Yeah, you’re going to need to leave it alone for a few minutes. I suggest having the curlers in your hair no less than 10 minutes. I aim for 20-30 if I have time. You can always do a touch test to see if the curler has cooled but if you can, leave them in until the curler is all the way cooled off.
6. Shake and Bake
When your curlers have cooled (or if you just ran out of time), take the curlers out but don’t immediately brush your hair out. I usually flip my hair over, shake it around, run my fingers through it and then see if I need to tame it any further. Shaking your hair allows it to fall back along the natural hair line.
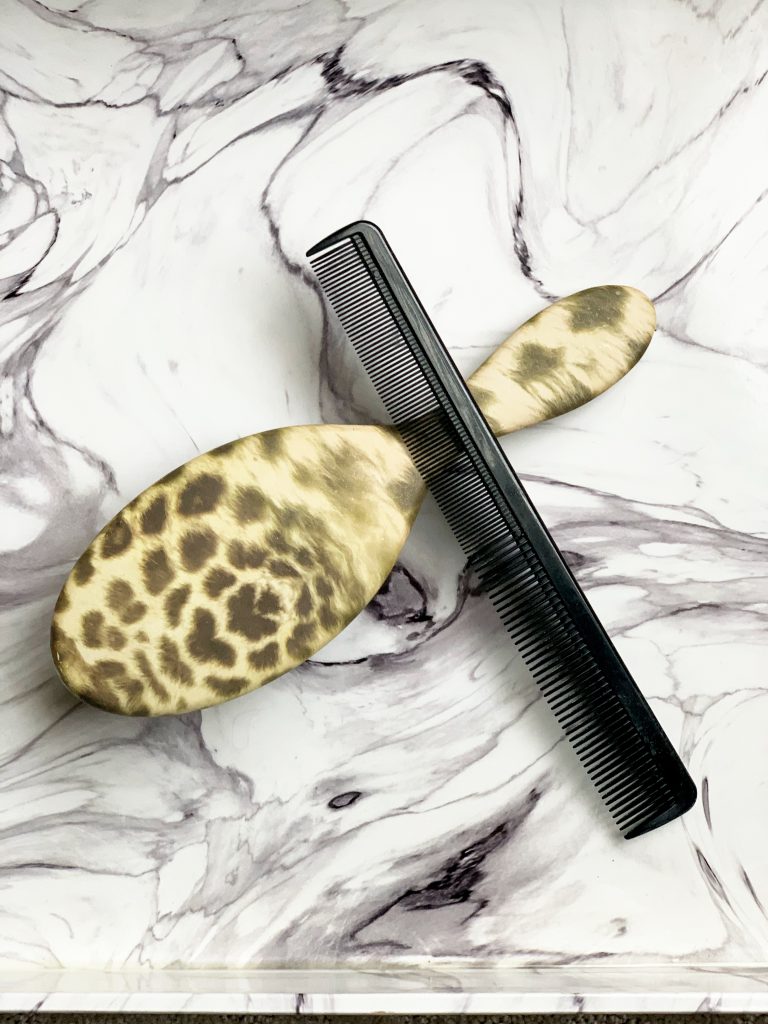
7. MORE HAIRSPRAY
Oh, did you think we were done with hair spray? Once you have your hair in place, Spray. That. Puppy. Down. I mean it. In the winter, we can get away with less spray but in the summer when the heat, humidity, and wind are coming atcha, you need a little support. I also usually carry a travel size spray can in my work purse just in case items have shifted during landing…
That’s it! If you have any questions, feel free to post them below or send me an email and I’ll help as much as I can!
May your days be filled with perfect hair days!
Grocery List:

Finally, I have all your curly hair secrets 😉 Congrats on the site love!
So happy to share!